Happy Middle of the Week
GOOOOOOOOOOOOOD evening bloggers,
Im all recovered from our darling daughters school show “Godspell” that was on at her school last night and again tonight.. It was a musica extravaganza but will not stop me from tonights blog… So straight down to business….
MONDAYS TUT
Well im happy to say other people have given the tutorial a go, sadly putting mine to great shame…. lol here it is.. thank you goes to Julie Massingham for sending me this…
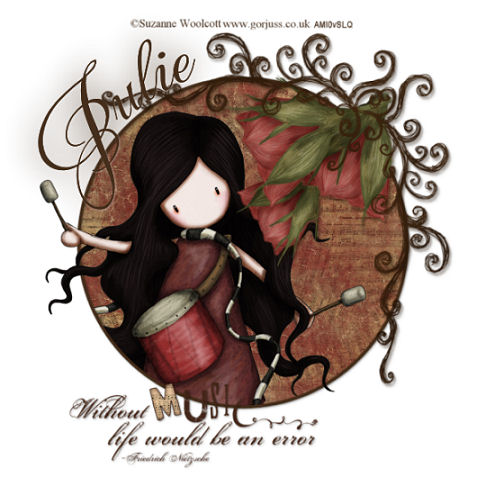
LOL it shows mine up horribly…. still I have one to do tonight… lets see if I can manage this one.
SHOP UPDATES
You got the teaser for this last night, well heres a peek at the items soon to be available to buy at etsy,,, all varnished and ready now.
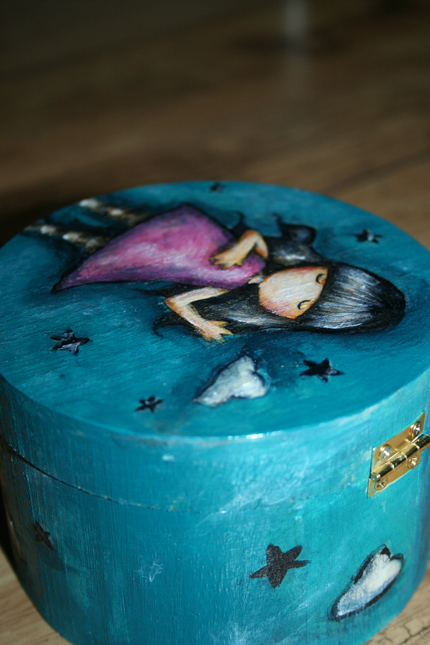
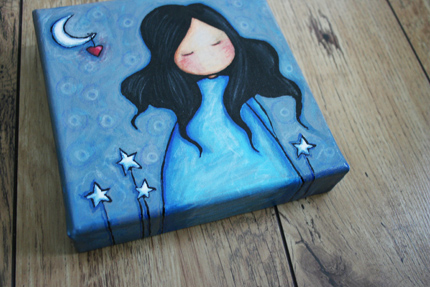
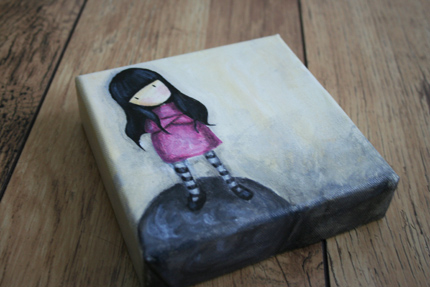
There is of course a few more surprises to go with these, including a NEW painting on canvas board thats cuter than cute…
Ill get a piccy of it for tommorrow night…
Tonights Tutorial
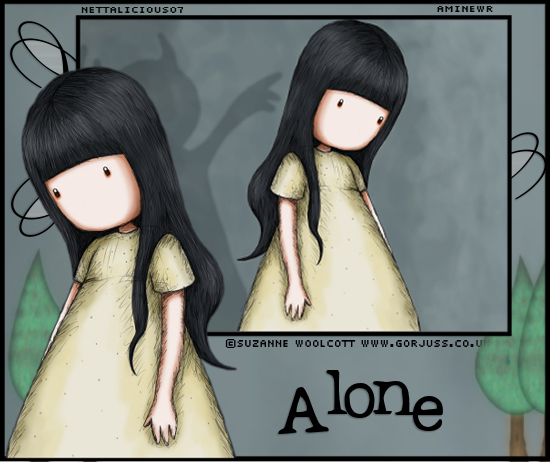
Supplied by Nettalicious07 Heres her site of tutorials….. thanks a lot, this one looks like i may manage something…
REQUIREMENTS
For this tutorial you will need:
*Tube, i am using the work of Suzanne Woolcott, To use her images you must purchase a licence from AMI
* Brushes of choice
*Font of choice
STEP 1: Open a new image 550×460
Easy!!!! Done
STEP 2: Select your ellipse tool, click your rectangle select your line style,make sure its solid,width 4 Now draw out a rectangle,make sure the background is null only the forground button should be on in your materials pallete, I chose the colour black draw a large rectangle and a smaller rectangle Change both to raster layers.
Again EASY!! Bring it on tut girl!!
STEP 3: Please make sure they are in the centre of your page.
DOH!!!!!!!! right Ill go back and start again…
STEP 4: Now select your magic wand and then open a new layer below both rectangle layers now highlight your smaller rectangle, Click on the inside of your smaller rectangle with your magic wand then go to selections, modify by 3 then click ok find the paper you want to use, Highlight the layer beneath your rectangle, Now click on your chosen paper and copy, Move back to your rectangle then click on it and move down to paste, Now paste into selection then goto selection and click select none. Now click on the smaller rectangle and then go to merge down do the same for your larger rectangle and then put your smaller rectangle inside the larger one,close to the top.
Not sure what I was modifying by 3 when I got to that bit, so I selected expand and defloated it and selected 3. Then ok… eeek. Not Sure If Im doing this right, the end result will tell all… hehehe Lost me t the merging down too.. bah I need serious help!! lol.
STEP 5: .Now we will add your tube, (if its to big please resize to your liking). Place it were ever you choose, I chose it to be inside the retangles,this choice is down to you. Add any elements of choice.
I may have already put my tube in the background… hmmm lets see… I wont use Suzannes work.. lol just to annoy her.
STEP 6: Now we will resize, I resized mine to width 550, height 504, I like my tags big and bold lol Dont forget its upto you what size you resize your tag to.
Yup I left mine well alone …
STEP 7: Now add the name or any saying you wish on the tag, The colour wants to be black, Now click on your text tool,Choose your font and size, Now add the name or any saying you wish on the tag I chose Alone for mine, Now add a drop shadow of choice,
STEP 8: Now all we have to do is to add your Watermark And last but not least please do not forget to add your Artists Copyright and licence number if it has one.
I really need to get one, however as I havent used any copyrighted materials im fine…. Ill get a lisence for the next one coz Suzy says Im not using hers!! booo.
STEP 9: Ok now we have to save our finished tag Go to file then down to export Now click on jpeg optimizer Click use wizard, Make sure the slider is at the top for better image quality NEXT This should be: YCbCr 1×1 1×1 1×1 (none) NEXT Then click finish Now name your file “Your Choice of name” Then click save and your finished.
YEAH!! Im done
Thankyou for trying my tutorial
Thanks for giving us it, it was definately easier than the last one, Im just lacking that little bit of finess… ready for my effort?
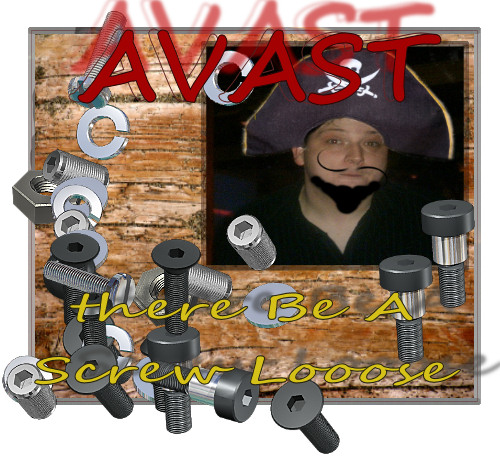
DOES MR G HAVE A FUTURE IN TAGS?
All comments with this regard welcome… LOL I display a poor talent for this… but I shall not give up…. again hopefully someone else will try this tutorial with greater results and I can show it off tommorrow night or later this week… for now.. I’m terribly sorry.
-Mr G signing off…


aw Mr G you did well 🙂 Part of why nette used to do what she called her quick tags was for new pspers *kicks nette up the bum -we want more XD *
cours ya hve future in it, we all start somewhere 🙂
Hello mr G,
I cant believe you chose my tut i am really chuffed.
Im actually on a break from psping right now but hope to be back real soon
I have to say i think you have done a fantastic job with my tut aswell as all the others you have tried,
and hope to see many more of your creations in the future
Thankyou
x nette x
🙂
Actually Mr G … I like your tag very much 🙂 ..you did it well. I have been tagging for years and step #4 was confusing for me until I re-read it four or five times …lol !
Dear Mr. G. Love that you followed the tut along!
I am wondering if Suzanne would fancy ever doing a medium brown haired girl with a strawberry somewhere in the picture. That would so remind me of my daughter that I would have to buy it right up!
I love shopping the Etsy store and reading the blog. I know you have tons and tons of fans and I am one of them! Thank you.
(roflol) You did pretty good on that Mr G. Great tutorial, looks easy enough for a beginner. 🙂 I definitely love the new products by the way. Awesome tag Mr G and appropriate saying. XD
🙂 NIIIICE TAG, MR. G!